DIY Pedicure: Step by Step Guide
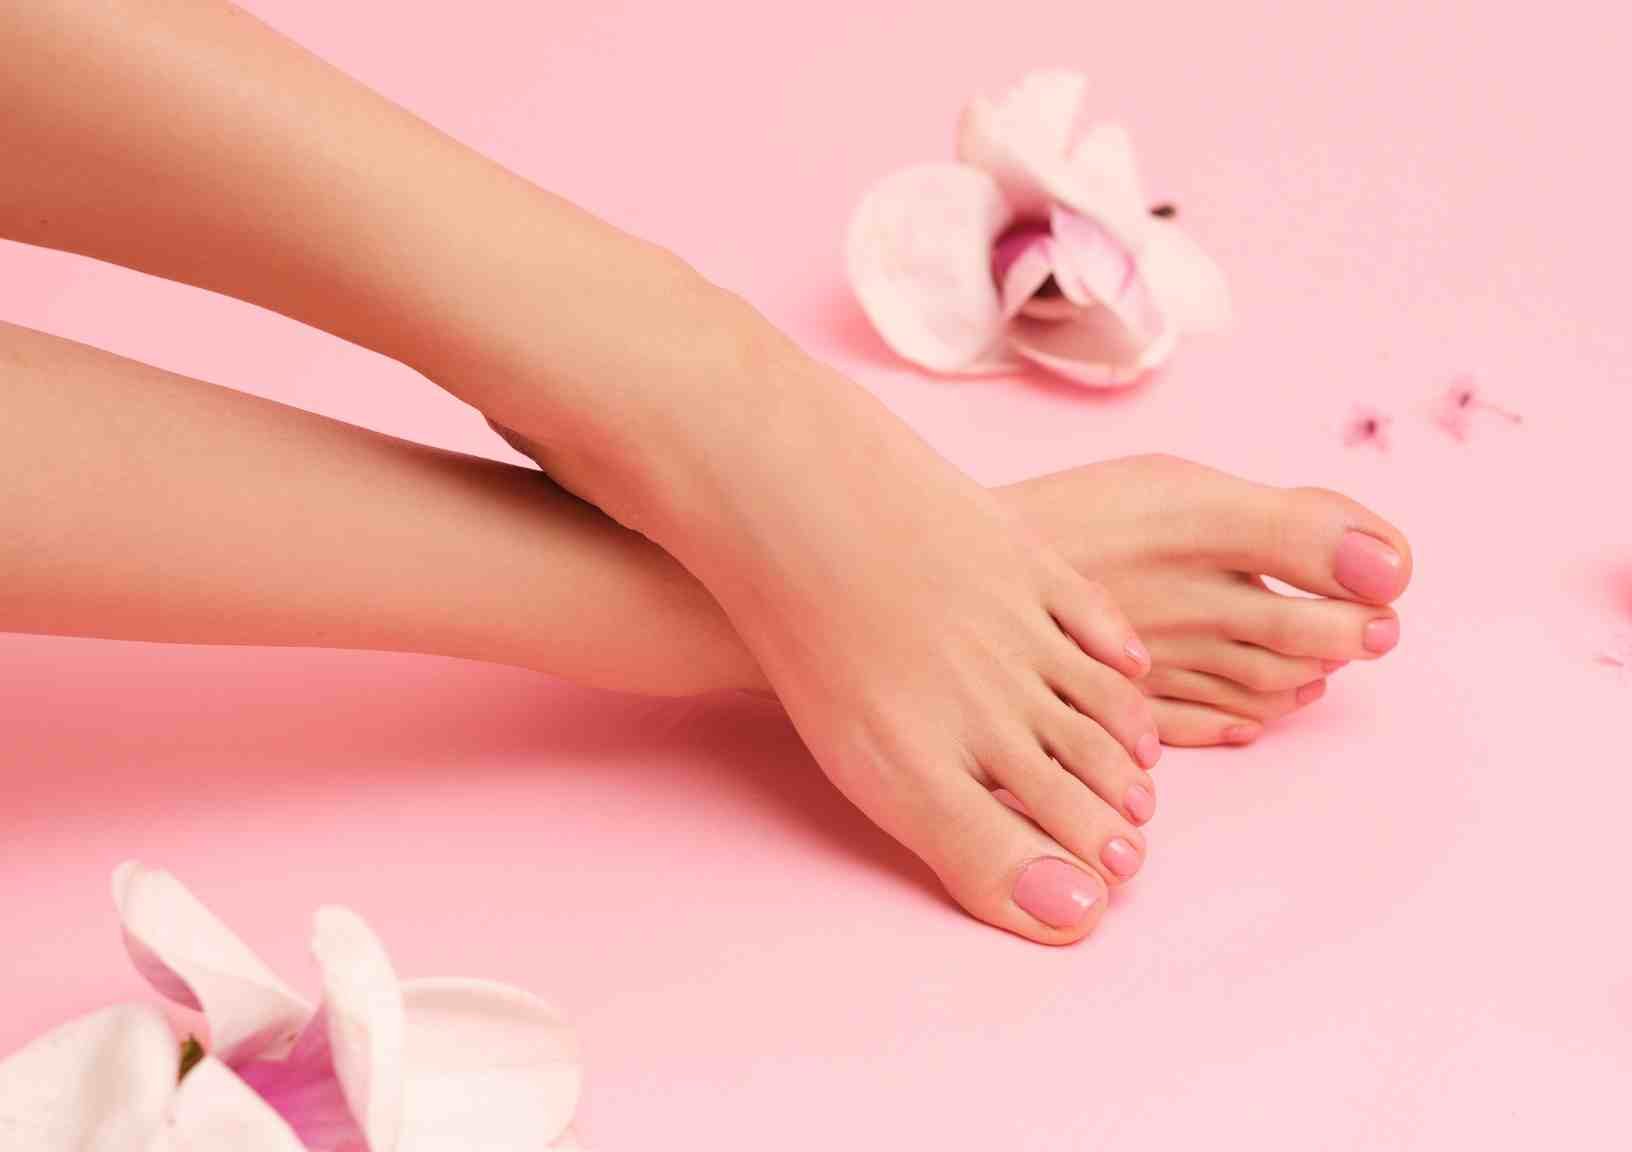
DIY Pedicure: A Step-by-Step Guide to Pampering Your Feet at Home
Nothing beats the feeling of soft, well-kempt feet. A pedicure is more than just a luxury indulgence reserved for special occasions; it's an act of self-care that leaves you looking your best and feeling your most confident. A trip to the nail spa is always a treat, but you can achieve salon-worthy results right at home and for a fraction of the price.
In this step-by-step guide, we'll walk you through the process of giving yourself a perfect pedicure from the comfort of your couch. Without further delay, let’s soak, scrub, and polish our way to beautiful feet!
Gather Your Pedicure Essentials
Before you dive into your DIY pedicure, start by gathering all the essential tools and products you’ll need.
Having everything right within reach will ensure a smooth and spa-like experience. Here's what you'll need:
Basin or Foot Spa: A basin or foot spa is essential for soaking your feet before a pedicure. Choose one that's comfortable and large enough so your feet won’t feel squished.
Nail Clippers: Invest in a good pair of nail clippers to trim your toenails to an ideal length.
(Optional) Nail File: A good nail file will help you shape and smooth your toenails with ease.
(Optional) Cuticle Pusher: Gently push back your cuticles to create a clean canvas for your nail polish.
Foot Scrub: A quality foot scrub will remove dead skin cells to reveal softer, smoother skin.
(Optional) Pumice Stone or Foot File: These tools are excellent for tackling rough patches on your heels and the balls of your feet.
(Optional) Nail Polish Remover & Nail Polish: If you have old nail polish on your toenails, be sure to have some nail polish remover and cotton pads on hand. Some polish removers are specially formulated for natural nails, so always read the label carefully.
Moisturizer: A rich foot cream or lotion will keep your soles soft and hydrated. For extra dry feet, reach for our Energizing Foot & Heel Balm. Beeswax, Jojoba oil, and Vitamin E help to replenish moisture and heal rough, cracked skin.
Towels: Have a few towels handy to dry off your feet and catch any spills.
With all of your supplies nearby, you’re ready to sit back, relax, and indulge in a deluxe DIY pedicure.

Start with a Relaxing Foot Soak
Fill your basin or foot spa with warm water. Avoid using water that’s too high in temp, as scalding hot water can worsen dry skin. You can enhance your water with a soothing homemade foot soak. Simply mix in some Epsom salts and a relaxing essential oil like lavender or eucalyptus to ease your muscles and indulge your senses.
Soak your feet for about 10-15 minutes. Light a candle and use this time to unwind with a book, some calming tunes, or a self-love podcast.

Trim, Shape & Clean Your Nails
Once you’ve enjoyed a rejuvenating foot soak, it's time to dig in and do the dirty work of tidying up those toenails. Start by trimming them to your desired length, then use a nail file to create your preferred shape.
With a cuticle stick, gently push back your cuticles, being delicate so as not to damage your nail beds. Once you’ve conquered your cuticles, use a nail buffer to smooth the surface of your nails. This helps to prep the nail for polishing.

Exfoliate and Moisturize Your Feet
Now that your nails look neat and tidy the next step is to exfoliate away dead, dry skin and follow up with a nourishing moisturizer.
Start with some of Moody Sisters' Energizing Foot Polish formulated with aloe, mint, and pumice. Pay extra attention to your heels, the balls of your feet, and any other rough patches. Gently massage to remove dead skin cells and reveal soft, smooth soles you’ll feel proud to show off in sandals or heels.
After rinsing your feet thoroughly, pat them dry with a towel and apply a generous amount of moisturizer. Our Dry Skin Cocoa Body Butter is a rich formula that delivers deep hydration to dry, chapped, or cracked skin. Massage into your heels, which are particularly prone to roughness and may need some extra TLC.

Perfect Your Pedicure with Polish
Finally, it’s time for the best part of any pedicure – the nail polish! Whether you prefer a classic, clean French tip or bold shades to suit the season, this is your opportunity to express your one-of-a-kind style.
Start with a clear base coat to protect your nails and create a smooth canvas for your color of choice. Then, apply two thin layers of your favorite polish, allowing some time to dry between each coat. This will ensure the most even application without bubbles or streaks. Finish your polish with a light top coat to seal in shine and guarantee the most long-lasting results. Be sure to let your nails dry completely to prevent smudging and the result will be the most perfect pedicure.
Following these simple steps, you can achieve a professional-quality pedicure without ever leaving home. Not only will your feet look and feel amazing, but the process itself is a serene self-care ritual you’ll look forward to doing. Happy pampering, Moody babes!